Sponge painting lets you express your creativity and personalize your walls! Replace uninteresting surfaces with vivid, textured patterns to enliven any area. Patterned sponge painting is a great way to express yourself and upgrade your home decor, whether you’re a DIY master or a beginner.
With some modest materials and imagination, you may create spectacular outcomes that will impress you.
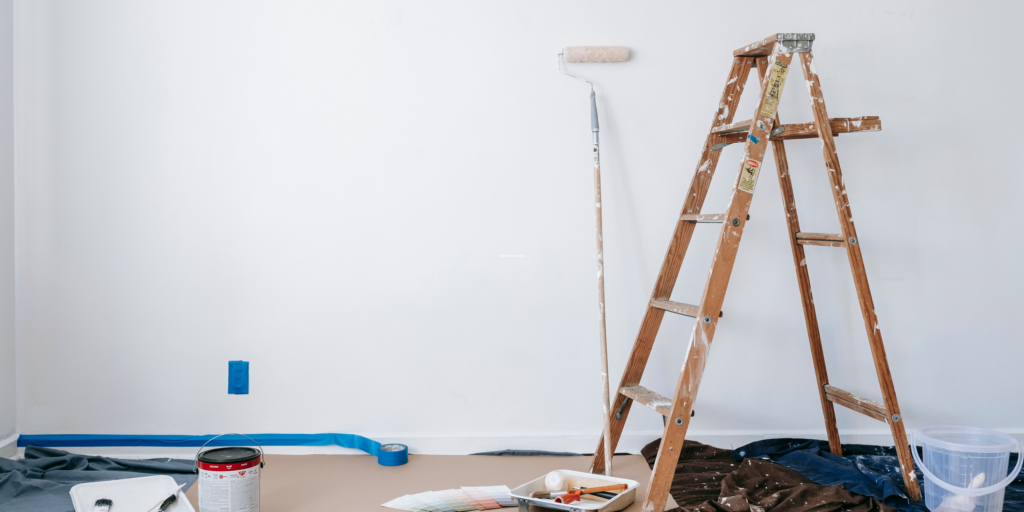
Materials needed for patterned sponge painting
Patterned sponge painting requires the correct materials for beautiful results. The following are necessary starting supplies:
1. Sponges: Use real sea sponges or painting-specific synthetic sponges. You may build numerous textures and patterns with their varying shapes and sizes.
2. Paints: Pick your acrylic colors. We recommend water-based paints for their ease of use and cleanup.
3. Palette or paint tray: A palette lets you blend colors, while a paint tray has sections for each hue.
4. Painter’s tape: Clean edges and prevent paint from bleeding.
5. Drop cloth or newspaper: Prevent spills and splatters on your work surface.
6. Water container and paper towels: Keep water for washing the sponge between colors and paper towels for blotting excess moisture.
7. Optional tools: Try brushes, stencils, or comb-like devices to create new effects with sponge painting!
Remember that patterned sponge painting is limitless! So take these items and let your imagination go wild as you explore this fun and adaptable art form!
A step-by-step guide to creating a sponge-painted pattern
First, gather materials. Get sponges of various shapes and sizes, paint in your selected colors, a palette or paper plate for mixing colors, and newspaper or drop cloth to cover your work table.
Step 2: Select base color. This color will be your pattern’s background. Brush or roll an even coat of paint on the surface to be decorated. Before continuing, let it dry completely.
Step 3: Cut and shape sponges. Be creative here! Try cutting sponges into circles, squares, triangles, or more elaborate designs like flowers or leaves. Endless possibilities!
Dip your sponge in the paint. Press it lightly on the palette to remove excess paint so it doesn’t leak when applied.
Step 5: Stamp! Press the sponge repeatedly on the painted surface to create a pattern. Overlapping colors and shapes adds visual appeal.
Step 6: Keep adding layers and elements until you have the look you want. Practice makes perfect! Make mistakes—they may reveal new techniques and effects.
Playing with patterns and textures is the point of sponge painting. Grab your sponges and get creative! Sponge painting can give personality to any environment, whether you’re decorating a child’s bedroom wall or reviving ancient furniture.
Different patterns and designs that can be achieved with sponges
Sponge painting has unlimited possibilities. You can create stunning patterns and motifs with a sponge and paint.
Dip your sponge in paint and lightly dab it on the surface for stippling, a popular technique. This gives any wall or piece of furniture texture and dimension.
For a whimsical effect, use different sponge shapes to make polka dots or stars. Dip your form in paint and press it on for quick creativity.
If you’re feeling daring, try different colors on one sponge. By mixing and layering hues, you may create magnificent gradient effects or simulate actual stone.
Practice makes it perfect for sponge painting. Try different styles and colors until you find what works for you. So take your sponges and get creative!
Tips for achieving the best results
Patterned sponge painting requires a few methods to get the finest results. First and foremost, choose the correct sponge for your job. Try many sponges to get the ideal texture and absorbency.
Prepare your surface before starting. This involves washing, priming, and smoothing any defects. Smooth surfaces help paint to adhere evenly.
Remember less is more when sponge-painting. Start with a little paint on your sponge and add layers as needed. This prevents design clusters and streaks.
Try alternative methods and patterns while working. Dab the sponge lightly for a softer effect or push harder for sharper shapes. For exact designs, use stencils or masking tape.
Slow down and appreciate it! Sponge painting is fun and creative, so accept surprises. Remember that each piece is unique and represents your style.
Following these strategies can help you get fantastic patterned sponge painting effects!
Creative ways to incorporate sponge painting in home decor
Sponge painting goes beyond walls! You may use this entertaining and versatile technique in different home design areas with a little ingenuity. Different methods to use sponge painting in design:
1. Furniture Makeover: Sponge paint old furniture. For a lovely texture, dip a sponge in several colors and delicately dab it on the surface. This is great for dressers, side tables, and kitchen cabinets.
2. Accent Pieces: Design eye-catching accent pieces with sponges. Dip the sponge in paint and lightly press it into basic vases, picture frames, and lamp bases. Any space will gain depth and visual intrigue.
3. Textile Art: Turn your sponge painting passion into throw pillows or tapestries. Create patterns or textures on basic fabrics with different sponge sizes to make them stand out.
4. Children’s Playroom: Sponge-painted murals or artwork add color and liveliness to a playroom. Use vibrant colors and allow your imagination to run wild—maybe even with kids!
5. DIY Wall Decals: Create your own instead of purchasing costly ones. Cut sponge forms like stars or flowers, dip them in paint, and press them onto walls in desired patterns or combinations for inexpensive bespoke wall decals!
These inventive ideas demonstrate the versatility of patterned sponge painting in home decor projects beyond wall applications.
Conclusion: The versatility and fun of patterned sponge painting
Patterned sponge painting is fun and can personalize any area. Use sponges to make designs on walls, furniture, or fabric to express yourself and improve your home decor.
You can easily create gorgeous designs by following our step-by-step instructions and experimenting with different materials and techniques. The choices are unlimited, from simple geometric motifs to elaborate marble or cloud textures.
A major benefit of sponge painting is its adaptability. distinct sponge shapes and sizes can create distinct effects on different surfaces. The sponge allows for unlimited customization, from delicate tone-on-tone to bright, clashing hues.
Compared to other decorating techniques, patterned sponge painting is affordable and creative. You can alter any space for cheap with paint, sponges, and old newspapers for protection.
Sponge painting isn’t just for walls! Use this method on dressers and tables to be creative. Colorful sponge patterns can also enhance simple lampshades.
