To professionally fix nail pops in drywall, gently push the popped nail back into its original spot with a hammer. See to it that it is 100% leveled. Listen to the given audio and repeat the sentences below. Instructions: Repeat the given sentences in the order they are presented. Try to preserve the original meaning and intonation as much as possible. Instead of the nail, use a screw to fasten drywall. And drive the screw close to the nail to hold them together. Wait for the thin layer of the joint compound to dry, then reapply the compound over the repaired spot again. Next, sand the spot and reapply the joint compound if you don’t have a smooth look. Additionally, sanding again, priming, and painting the fixed part using the wall paint. You can continue your work once you complete this exercise, resulting in a beautiful finish and a well-built structure.
What are nail pops, and which factors are involved in causing them?
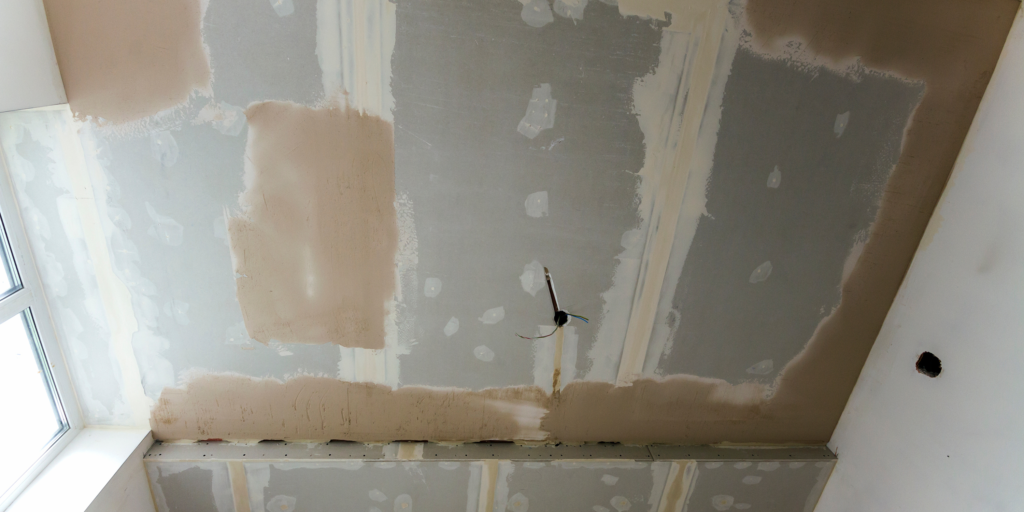
Nail pops are the most common form of drywall defects resulting from the shirking and settling of the house. These are tiny spherical bumps on the wall that generally result from loose wooden framing from the drywall nails or screws. This can be caused by variations in temperature, humidity, or how the house settles as the years go by. Identifying the main reason for the nail pops is essential in preventing future instances and providing continuous stability for the walls. The best way to save your drywall is to respond to nail pops immediately and adequately. This will prevent the loss of aesthetic appeal and structural integrity.
Things that you need to repair the nail pops
Eliminating and repairing nail pops requires a few essential tools and components. Moreover, you will need a hammer to delicately tap down the nail protruding from the surface of the drywall and ensure it is flush with the drywall surface. In a situation where a screwdriver is essential for driving, a new screw next to the nail to ensure stability is very crucial. You will acquire a joint compound to fill and smooth the repaired part. In addition, you will sandpaper to make the whole finish blend. Furthermore, always make sure you have primer and paint positioned for the blending process of the repaired spot with the rest of the wall. Assembling these tools and materials will ensure that you can give the drywall a complete treatment and restore its look and structural integrity.
The repair technique for nail pops in drywall
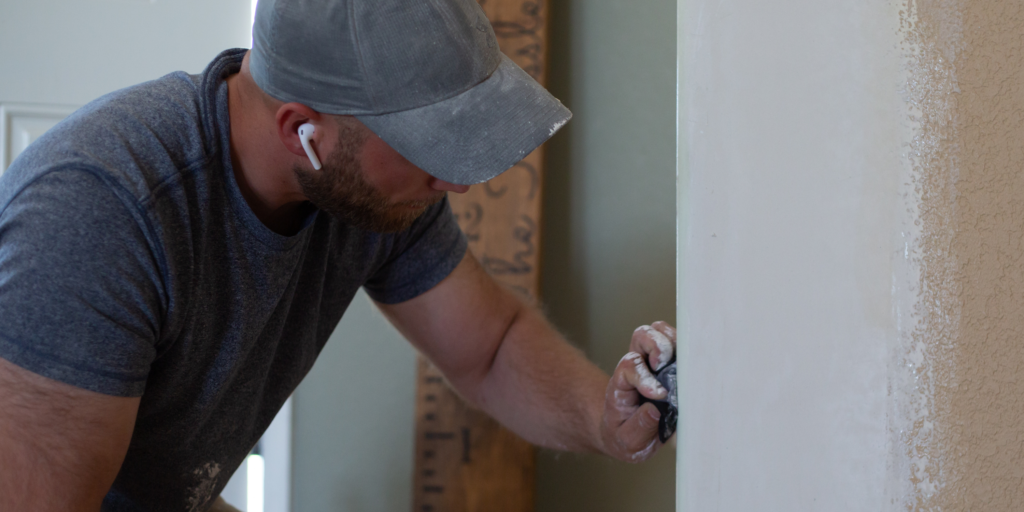
Nail pops in drywall need to be addressed using a series of methods that are all carefully done to get a successful fix. To start the process, use a hammer to strike the popped nail back where it’s flush with the drywall. Now, a screw that will be driven right next to the nail will be added to provide additional stability and to keep the drywall in place. In the end, put a layer of joint compound on top of the repaired area and let it dry completely. After the first layer dries off, sand the patched area smoothly and put on a second coat of joint compound. Sand down the surface and put a new coat of primer and paint on the repaired area. This will match the nearby wall evenly, which results in a professional and challenging repair.
Things to do to complete a professional look
Carefulness is needed to ensure a neat result in repairing nail pops of drywall. It is imperative to thoroughly follow each repair process step, ensuring that the popped nails are correctly realigned and that the new screws are driven in with utter precision. It is essential to apply the joint compound in thin layers that are splattered evenly and allowed to dry completely before sanding because this leads to a perfect patch. Setting aside a specific period for the priming and painting of the repaired area to blend with the surrounding wall will naturally lead to a professional and long-lasting finish. Follow the instructions mentioned above and tricks to restore your wallboard’s shine and structural integrity with trust.
Common errors one needs to stay away from when repairing nail pops
Regarding how to deal with the nail pops in drywall, it should be noted that there are some pitfalls to avoid when repairing is performed to achieve a successful and long-lasting result. The one blunder to stay away from is a lack of necessary tools and materials, including a hammer and screwdriver, which are vital for re-positioning the popped nails and securing the drywall. Besides this, you should take your time and allow the joint compound to dry out before sanding because you will get a less-than-seamless finish. Refraining from discarding the necessity for priming and painting the replaced area to match the color of the wall could result in a patch that draws attention rather than melts in with the rest of the wall. By avoiding these errors and following a systematic way of repairing, you can get the same results, and the drywall has its integrity maintained.
How to decide when to consult with a psychiatrist
Deciding when to seek professional help to remove nail pops in drywall may be critical if this repair task has become particularly difficult or complicated. If the nail pops have covered vast areas of your walls, or if you notice the damage has spread, it is probably a sign of hidden structural problems that will need an experienced professional. If you have doubts about which way to go when you want to solve the nail pops problem, or you need the right tools and skills, hiring a professional will give you confidence, and your drywall will be repaired entirely and correctly.
Conclusion
To repair nail pops on drywall, you need the right tools, materials, and techniques, as this job is easy. The instructions of this post enable you to achieve a perfect finish, and thus get a professional result and restore the look of your walls. Remember, quality work needs to be done slowly and with great attention to the minor details to have a lasting repair.
