Creating paint is an enjoyable and rewarding experience that offers artists and DIY enthusiasts a fantastic chance to blend their own colors with specific pigments. This article will provide you with a general understanding of how paint is made while also allowing you to experiment with various materials and techniques involved in the process, along with the essential considerations to keep in mind.
Understanding Pigments
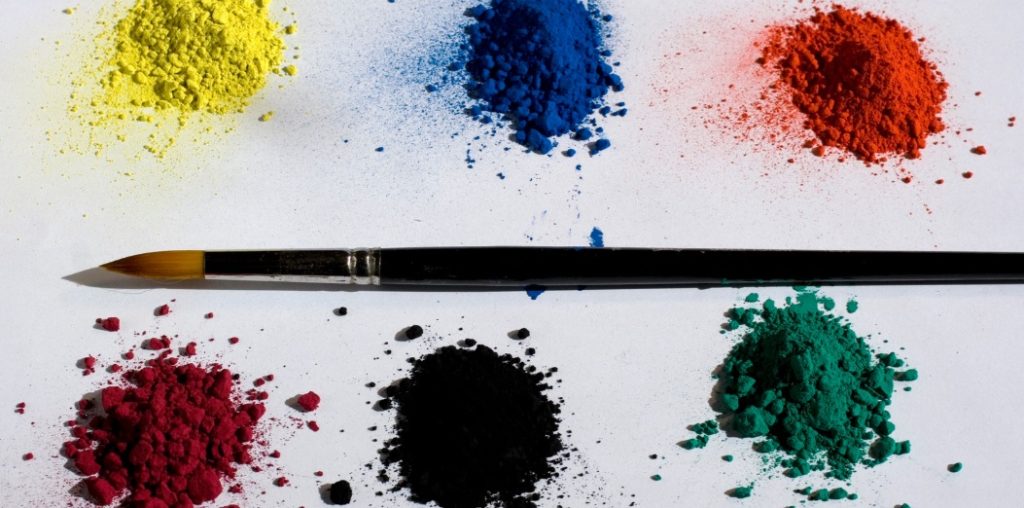
Pigments are finely powdered substances used to impart color to various materials. It may come from natural sources like mineral resources or plants, or it can be created through artificial synthesis. The choice of pigments can significantly alter various characteristics, such as opacity, tinting strength, and lightfastness.
Exploring Different Types of Pigments
1. Natural Pigments: These are sourced from organic and mineral origins. Among them are ochres, which are clay-based colors, along with lapis lazuli, indigo, and others.
2. Synthetic Pigments: Created via chemical methods, these provide bright, uniform colors with improved durability. The most frequently used synthetics are titanium dioxide, as well as white and ultramarine blue.
Choosing the Right Pigments
The choice of pigments can differ based on their intended use and the specific goals you aim to achieve with the paint.
Take into account elements like:
The Color and Tone: When it comes to color and tone, it’s essential to source any hue or pigment that will be included in your painting or drawing. Understand that pigments can be shafted and that the intensity of color may vary.
Purpose: The opacity and transparency of a pigment—whether opaque, semi-opaque, or transparent—play an important role in determining how effective a paint’s coverage will be.
Lightfastness: Lightfastness refers to the ability of pigments to resist fading when exposed to light, so it’s essential to choose the right pigments to prevent this issue.
Toxicity: When it comes to using pigments, safety is paramount. It’s essential to verify that the pigments are non-toxic, particularly for places involving children or when working in enclosed spaces.
Tools and Supplies
When it comes to preparing paint, you’ll need the following items:
Colors: High-quality natural colors available in powder form can be found at art shops or online.
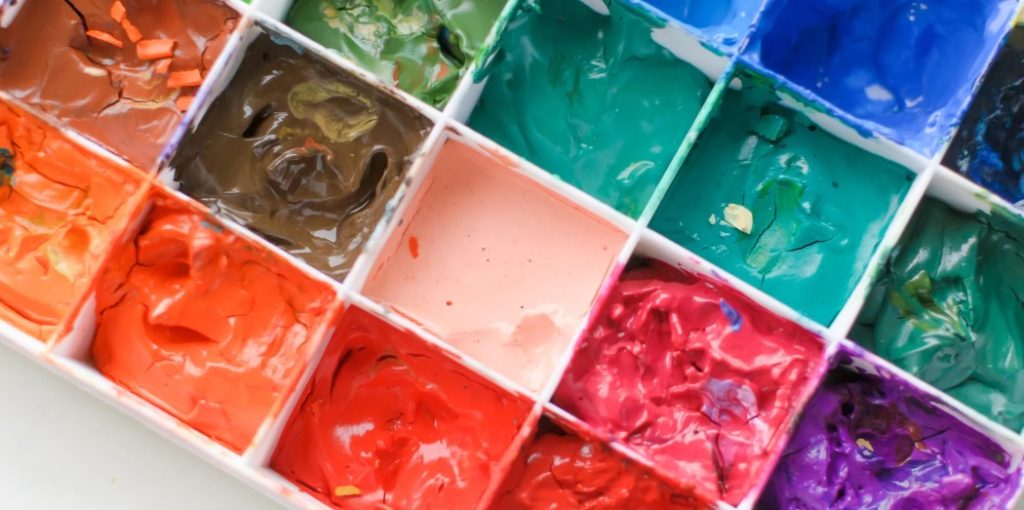
Binders: A binder serves as a medium that holds pigment particles together, allowing them to adhere to various surfaces effectively. The binder for watercolors is gum arabic, while oil paint utilizes linseed oil, and acrylic paint is based on acrylic polymer.
Solvent or Thinner: Solvent or thinner serves the purpose of reducing paint thickness or cleaning brushes effectively. Water serves as the ideal solvent for water-based paint, whereas turpentine or mineral spirits are used for oil-based paint.
Mixing Tools: For your mixing needs, consider using a palette knife or a comparable stir stick along with a palette or mixing tray.
Containers: Containers can include sponges for mixing paint, various basins, and bowls for holding small jars or squeeze bottles used in painting.
Measuring Scale: When it comes to measuring, precision is key. Therefore, it’s best to rely on spoons or a scale for accurate results.
The Process of Making Paint
Step 1: Combining the Binder
Start off by getting your binder ready. To prepare the oils, gently warm the linseed oil until it reaches a slightly liquid state, while the other types should be warmed until fully liquid. To get your acrylic paints ready, mix the acrylic polymer emulsion with water and ensure that the dispersions are well aerated.
Step 2: Incorporating Pigments
Gently mix your chosen color with the binder, using a palette knife or stir stick to stir continuously until well blended. An increased ratio of pigment compared to the binder can result in a textured finish for the paint, and in certain cases, it may also influence the level of light that the paint allows to pass through. The most straightforward ratio is balanced between the two components, though it can be adjusted based on specific needs. For enhanced transparency in the paint, it’s essential to increase the amount of binder used.
Step 3: Adjusting Consistency
When dealing with thick paint, it’s advisable to incorporate a small drop of solvent or thinner to achieve the preferred consistency. When using water-based paints, remember to incorporate water gradually, in small amounts. With oil paints, turpentine or a milder solvent, like mineral spirit, can be quite effective.
Step 4: Testing and Adjusting
Prior to applying paint to your item, it’s essential to test it on a small area. When considering your options, focus on various aspects like the color shade, texture, and the drying time of the paint surface. Adjusting the pigment and binder quantities in the plaster is advisable to achieve desired surface layer characteristics.
Step 5: How to Store Your Paint
Transfer to a different container for storage. Make sure to label each container with the name of the pigment and the pigment to binder ratio. Store the paint in a cool, dry location to prevent any deterioration.
