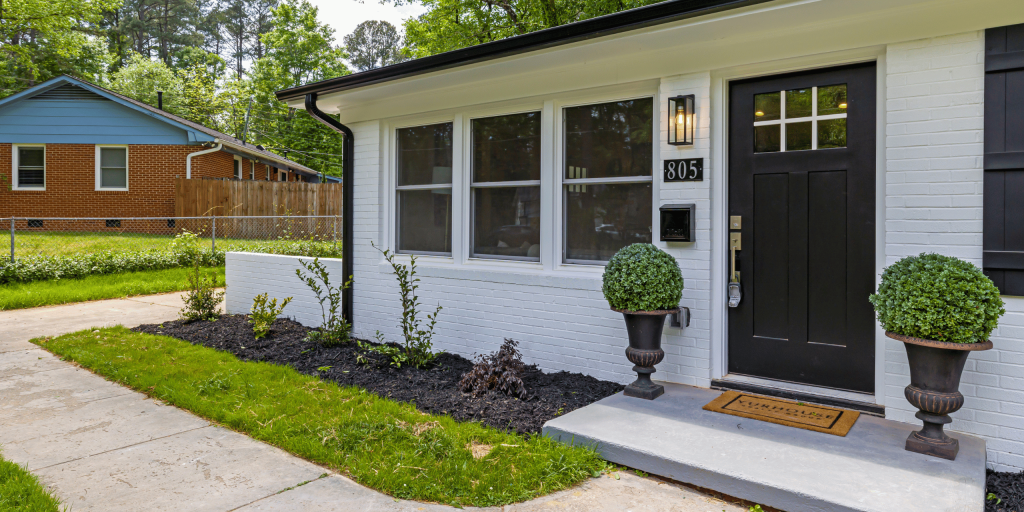
Painting an exterior door is one of the easiest and most effective means of increasing the curb appeal of your house. This is a great way to upgrade an old door or change the color to give it a new look, and it only requires a few simple supplies and some time. In this guide, we will take you through the process of painting an exterior door to help you get a smooth professional finish.

Materials You’ll Need
Before you get started, gather the following materials:
- Exterior paint (select a color and finish that will match your home exterior)
- Primer (particularly when you are painting a bare wood door or changing a dark color to a light one)
- Paintbrush (2.5 or 3-inch angled brush to use for details)
- Foam roller (for large flat areas)
- Painter’s tape
- Drop cloth or plastic sheeting
- Sandpaper (medium-grit)
- Clean cloth or rag
- Paint tray
- Putty knife (for repairing cracks or holes)
- Exterior caulk (optional)
Step 1: Prepare the Door
Remove the Door (Optional)
To do a better job, it is advised to take the door off its hinges. This will provide you with better access to both sides of the door including the top, bottom, and edges. If you choose to leave the door, ensure that you cover the surrounding area with a drop cloth to absorb any drips.
Clean the Door
Before painting, it’s essential to clean the door thoroughly. Clean with a solution of water and mild dish soap to remove dirt, dust, and grime. If there is too much grease or build up, you can use a degreaser. Wait until the door is completely dry before proceeding to the next step.
Sand the Surface
Sanding will allow the paint to adhere better, particularly when painting over an old, shiny finish. Sand the door lightly using medium-grit sandpaper. After sanding the door, use a clean cloth to wipe off any dust or debris.
Repair Any Imperfections
If there are any cracks, dents, or holes in the door, make sure you repair them. Fill in small holes with wood filler using a putty knife, and sand it smooth when it is completely dry.
Step 2: Protect Surrounding Areas
If your door is still attached to the hinges, make sure to tape off the frame, hardware, and glass (if there is any) around the door. Apply painter’s tape to cover any areas that you do not want to paint. This will help you to get clean crisp lines and will prevent splattering of paint on unwanted surfaces.
Step 3: Apply Primer
Why Primer is Important
Primer helps to bond the surface of the door to the paint and makes the paint last longer. A primer is particularly important on a door made of wood, metal, or a bright contrasting color.
How to Apply Primer
Apply a thin, even coat of primer to the door with a brush or foam roller. Begin at the top of the door and work down, using smooth and even strokes. Make sure you cover all the edges and crevices of the door including the top and bottom. Allow the primer to dry as per the instructions of the manufacturer, normally 2 to 4 hours. If need be, apply a second coat of primer to cover completely.
Step 4: Paint the Door
Choose the Right Paint
When choosing paint to use on an exterior door, use a quality exterior paint that is durable. Choose a paint that is appropriate to the material your door is made of, be it wood, metal, or fiberglass. Exterior paints are designed in such a way that they can resist the weather, and your door will remain colorful longer.
First Coat of Paint
Apply the first coat of paint to the door. Paint around edges and other detailed areas such as panels and trim with an angled brush. To cover bigger flat surfaces, use a foam roller to apply an even coat of paint. Make sure you apply the paint in thin coats; each area should be allowed to dry before proceeding to another area.
Smooth Strokes
To prevent streaks and roller marks, remember to always paint with the wood grain or natural lines of the surface. Apply the paint smoothly, and be careful of dripping; clean drips up immediately with a clean rag.
Dry and Inspect
Let the first coat dry 4 to 6 hours, or according to the paint manufacturer’s instructions. When dry, check the door to see whether there are drips, uneven surfaces, or if any spots have been missed. If needed, apply the second coat of paint to have complete coverage and a smooth finish.
Step 5: Apply a Second Coat of Paint
When the initial layer of paint is dry, apply a second layer of paint. This will darken the color and make it more permanent. Do the same, beginning with the edges and then rolling the larger flat surfaces.
Step 6: Reattach the Door (if removed)
If you took the door off to paint it, now you can replace it. Ensure that the door is straight with the hinges and that it opens and closes well. Check to see where you might need to touch up after the door is put back in place.
Step 7: Final Touches
When the door is dry, take off the painter’s tape and clean up spills or drips. If necessary, touch up areas that need additional paint. You can also use a clear topcoat to further protect the door, particularly in an area with extreme weather conditions.
Step 8: Let the Paint Cure
Although the door might feel dry to the touch after a few hours, it is important to allow the paint to cure after several days before using the door on a regular basis. This enables the paint to dry fully and it will be better protected it in the long term.

