One of the least expensive and simplest things to do is to paint the walls in your mobile home to make it look fresh and updated. You may be tired of the original wall paneling, wish to give it a cheerful look, or just put your personal touch on it; a good paint job can work wonders.
This guide is going to show you how to paint walls in a mobile home, step by step, with tips and product recommendations that perform well in most climates and houses.
Why Paint Your Walls in Your Mobile Home?
A lot of mobile homes have their walls covered with vinyl-coated drywall or laminated wall panels that may appear dated with time.
This is Why They It’s a Good Idea to Paint Them:
- Bring the Appearance Up to Date: Paint will make your house look modern rather quickly
- Make it Your Own: Select colors that are in line with your tastes and style of living
- Add to House Price: A new paint job will enhance the looks and marketability
- Surface Protection: Good paint prevents wear and tear on the walls
Tools and Materials You’ll Need
To prepare before you start, you will need the following tools and supplies:
Tools:
- Paint rollers (3/8-inch is good)
- Angled brush (2 to 2.5 inches)
- Painter’s tape
- Drop cloths or plastic sheets
- Sanding sponge or sandpaper (120 -150 grit)
- Putty knife
Materials:
- Degreaser or TSP substitute
- Spackle or joint compound
- Primer
- Latex or acrylic interior paint (eggshell or satin finish is preferred)
- Caulk (paintable)
Step 1: Prepare the Room
Good preparation saves time and yields improved results.
Move Furniture
Remove as much furniture as possible from the room. Use drop cloths to cover what’s left.
Protect Surfaces
Apply painter’s tape to trim, ceiling, light switches, and outlets. Put down plastic or cloth to cover your flooring.
Remove Outlet Covers
Take out all switch plates and outlet covers to prevent dripping of paint.
Step 2: Repair Walls and Clean
Walls of a mobile home are prone to accumulation of dirt, particularly in the case of using drywall with a layer of vinyl.
Clean the Walls
Clean with a degreaser or light soap and water. Allow to dry completely and proceed to the next step.
Sand the Surface
Spray glossy or laminated walls lightly with sand to aid the adhesion of the primer. Sand it with a sanding sponge or sandpaper 120-150 grit.
Fill in Cracks or Holes
Apply spackle or joint compound to nail holes or cracks. Apply with a putty knife and allow to dry.
Caulk Gaps
Apply paintable caulk to any wall trim or panel-to-panel junction. This allows your paint job to turn out smooth.
Step 3: Prime the Surface
Most mobile home walls, particularly those with a vinyl or laminate coating, must be primed.
Choose the Right Primer
Find a bonding primer that will attach to slick or smooth surfaces. Good brands such as Kilz Adhesion or Zinsser Bulls Eye 1-2-3 are good.
Apply Primer
Paint primer on corners and edges with a brush, and use a roller for large areas. Allow to dry completely (see label drying time).
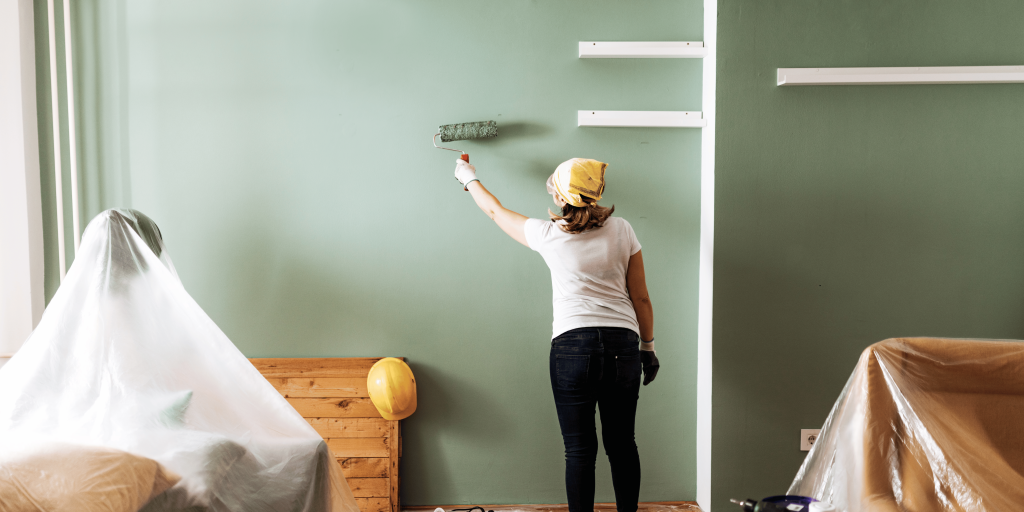
Step 4: Paint the Walls
The next thing is to apply your preferred color.
Choose the Right Paint
Apply a latex or acrylic paint that has a satin or eggshell finish, so it’s durable and easy to clean. Flat finishes are more likely to reveal marks and scuffs.
Cut in First
Before applying a roller, use an angled brush to cut in around the corners, ceiling, and trim. This creates clean edges.
Roll the Walls
Roll paint in a W or M shape so that there are no streaks. Use one or two layers, with time in between.
Step 5: Let It Dry and Clean Up
Let It Dry
Do not move furniture or touch walls before the paint dries. Most paints dry to touch within 1 to 2 hours, but dry fully within 24 hours.
Remove Tape Carefully
Take off the painter’s tape at a 45-degree angle prior to complete drying of paint to prevent peeling.
Clean Brushes and Rollers
Use soap and water to wash your brushes and rollers.
Tips for a Professional-Looking Finish
- Use Quality Paint and Tools: Rollers that are cheap leave lint and cheap brushes will streak.
- Do Not Overload Your Brush or Roller: Even coats are better and more durable.
- Ventilate the Room Well: Open windows or use fans to accelerate drying and mitigate odor.
- Color Matters: Light colors will look bigger in allow a small mobile home to look bigger; dark colors will add drama but will make a room feel smaller.
Common Mistakes to Avoid
- Leaving Out Primer: Your paint can peel or not adhere.
- Failure to Clean Walls: Dust, oils, and grime will destroy adhesion.
- Speeding up the Procedure: Take time to dry between coats.
- Painting on Wallpaper: Oil paint should always be sanded and primed or the wallpaper should be removed.
- No Attention to Moisture Problems: When you notice any kind of mold or water stains, repair the cause and paint over.
