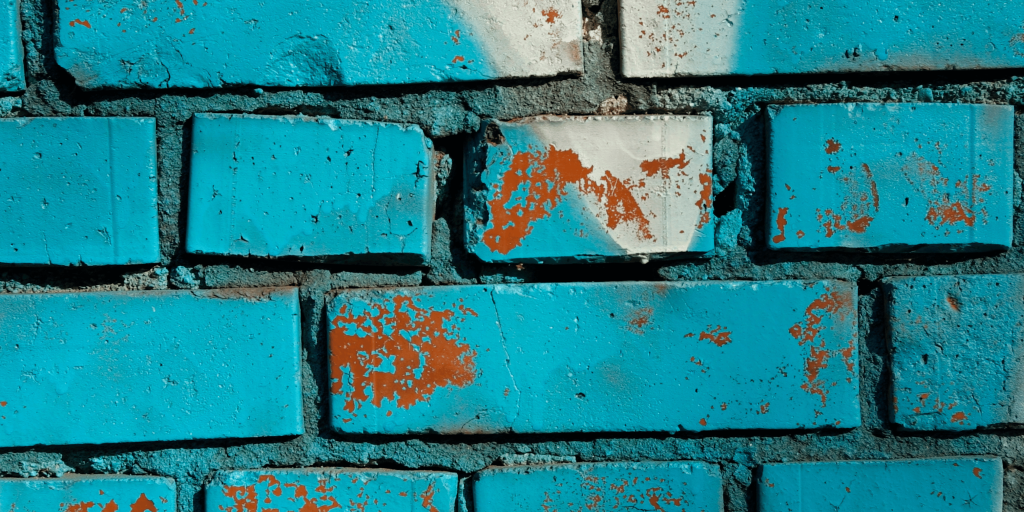
Painting the exterior of bricks is an excellent method of revising the appearance of your place. Painted brick can be eye-catching, causing increased curb appeal whether you do it in modern white or a big splash of color. It’s not as easy as just putting on some paint, however. Brick is a porous and rough surface that has to be carefully prepared with the appropriate materials in order to have a durable and attractive finish.
We will take you step by step in this guide on how to paint exterior brick including the preparation of the surface and selection of the appropriate products.
Why Paint Exterior Brick?
Before we dive into the “how,” let’s look at a few reasons why homeowners choose to paint their brick exteriors:
Better Curb Appeal: Fresh paint can change the appearance of your house completely.
Protection: When well applied, paint serves to keep the brick dry and weatherproofed.
Modern Look: Painted brick is becoming popular in residential architecture, particularly in towns and suburbs.
Things to Consider Before Painting Brick
Brick painting is not a job for everyone. It is hard to revert to its original state after having painted a brick surface.
So, think about these points:
Permanent Change: It is expensive and time-consuming to take the paint off brick.
Maintenance: Brick that has been painted will require a touch-up with time.
Moisture Risk: When not properly sealed, moisture may be trapped behind the paint and can cause damage.
If you’re still excited to move forward, let’s proceed.
Materials You’ll Need
Prepare all the materials in advance.
Here’s a basic list:
- Pressure hose or stiff-bristle brush and hose
- TSP cleaner/masonry cleaner
- Caulk and caulking gun
- Acrylic-latex, exterior (safe) paint (masonry)
- Masonry primer
- Thick-napped roller or sprayer with paint
- Painter’s tape and drop cloths
- Safety goggles and gloves
Step 1: Clean the Brick Thoroughly
Why It Matters
Dirt, mildew, and efflorescence (a white powdery residue) accumulate on Brick. Any coating over it will result in bad adherence and peeling.
How to Do It
- Clean the surface using a pressure washer. Begin with low pressure to prevent damaging the brick.
- If there are difficult stains or mold, prepare a solution of TSP (trisodium phosphate) with water. Wipe off with a hard bristle brush.
- Allow the brick to dry thoroughly, at least 48 hours, before proceeding to the next step.
Step 2: Inspect and Repair
Before priming or painting, have a look around your house and look for:
- Cracks in the brick or mortar
- Leaks on windows and door frames
- Loose or crumbling mortar
Fill any tiny cracks or gaps with acrylic caulk. To fix larger damage, you might require repointing (replacing mortar).
Step 3: Apply Masonry Primer
Why You Need Primer
Masonry primer is used to make the paint adhere to the porous brick better, and it does not allow the water to seep through.
How to Apply
- For even application, use a roller with a heavy nap or paint sprayer.
- Dry the primer following the instructions of the manufacturer–normally 4 to 6 hours.
Hint: When using primer and paint, ensure that the weather is mild (50-85 degrees F) and dry.
Step 4: Choose the Right Paint
Not every exterior paint is equally appropriate to paint brick, so you will need:
- For the exterior, 100 percent acrylic-latex paint (which is made to be used on masonry)
- Elastomeric paint (not essential, yet very convenient to have)
Popular Best Colors to Paint Brick:
- White or off-white (classic or clean appearance)
- Charcoal gray or black (fashionable and daring)
- Neutral and warm beige or taupe
- Navy blue, or forest green (to add some color)
Step 5: Paint the Brick
How to Do It
- Apply painter’s tape to areas you do not want covered with paint.
- Paint sprayer can be used to cover wide areas to get into the grooves and texture of the brick.
- Other rollers that can be used are rollers with a 3/4 to 1 inch nap that might just be time consuming.
- Paint at least two coats of paint with a drying period in between every coat.
Hint: The two-coat rule is the rule to go by for durability and even color application.

Step 6: Clean Up and Touch Up
Once your final coat is dry:
- Remove painter’s tape and drop cloths.
- Any spots or drip marks that have been missed should be filled in with a brush.
- Take a step back and see what you have done!
Maintenance Tips for Painted Brick
Although painted brick is not very fragile, it needs to be maintained.
Here are some tips:
- Check cracks or peeling each year.
- Wash with a hose with mild soap–no power washing.
- Repaint after every 7-10 years or as required to maintain a fresh look.
Should You DIY or Hire a Pro?
It is possible to paint brick yourself unless you feel that you are unstable on a ladder, or don’t want to do the surface preparation and spraying paint. If your house is big or requires repairing masonry, it would be safer and more productive to employ a professional.
Cost of Painting Exterior Brick
This is a crude calculation of the cost:
DIY: $300-$800 (materials only)
Professional: $2,000-$6,000 and above based on the size and condition of the house.
It is a big expenditure in either case, but it is an investment that may add value to your house.

