Are your kitchen cabinets old or damaged? You are in the right place if you want to give them a new fresh look without the tedious and time-consuming process of peeling off the old finish. Improving the look of your kitchen is an inexpensive DIY solution, where you can refinish your cabinets without removing the finish, drastically changing the look of your kitchen.
This guide will take you through all the information you need to know to be able to successfully refinish your own kitchen cabinets, and not have to use harsh chemical strippers.
Why Refinish Without Stripping?
Stripping of cabinets is done by applying strong chemicals or a good deal of sanding to get rid of the original finish. It is largely imprecise, odor-producing, and labor intensive.
Refinishing without stripping is:
- Faster
- Less messy
- More cost-effective
- Environmentally friendly (non-harmful chemicals)
Rather than stripping off the old finish, this alternative process involves cleaning, a light amount of sanding, and applying a new finish over the old.
Supplies You’ll Need
The following tools and materials will be useful:
Tools
- Screwdriver (to take out cabinet doors and fittings)
- Sponge or smooth sandpaper (sandpaper of 220-grit is preferable)
- Microfiber cloth or tack cloth
- Painter’s tape
- Foam rollers or paintbrushes
- Plastic sheeting or drop cloths.
Materials
- Degreaser/ TSP substitute (cleaning)
- Liquid deglosser (not required, to finish glossy cabinets)
- Primer (characterized as bonding primer)
- Cabinet paint or cabinet grade stain
- New hardware (additional, yet an outstanding update)
Step-by-Step Guide to Refinishing Cabinets Without Stripping
Prep Your Kitchen Space
To begin with, you need to clean your kitchen:
- Place drop cloths to cover the floors and counters
- Wrap the edges of walls and appliances surrounding the cabinets with tape
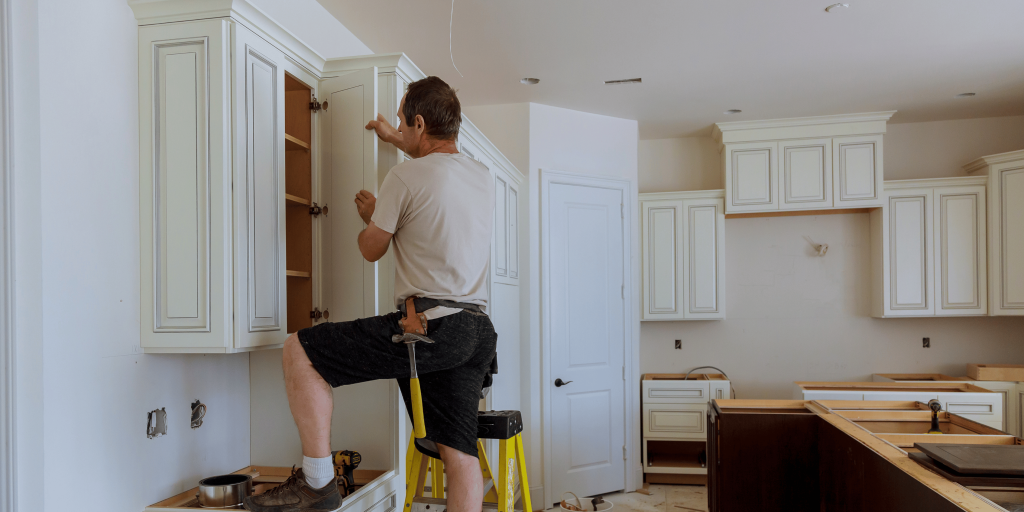
- Remove all the drawers, hardware, and all the cabinet doors
- Label the cabinet drawers and doors in order to reassemble them later
Clean the Cabinets Thoroughly
Kitchen cabinets are greasy, dirty, and grimy – particularly around the stove. Clean all the surfaces that you intend to refinish with a degreaser or TSP replacement. This is essential to aid in the adherence of paint or stain.
Tip: Don’t skip cleaning. Primer or paint cannot bond to the cabinets even where they appear clean because of grease.
Lightly Sand the Surface
Lightly rub the surface with a sanding sponge or fine-grit sandpaper (approximately 220-grit). You are not attempting to take the old finish off of it, just to get it rough enough to hold onto the new finish.
- Sand on the grain of the wood
- Wipe down using a tack cloth or a wet microfiber cloth
This is the move that can help you to avoid the stripping and still produce a professional appearance.
Apply a Liquid Deglosser (Optional)
You can use a liquid deglosser if your cabinets have a high-gloss or lacquer finish. It makes the finish flat and the primers and paint adhere better. All you need to do is follow the product instructions.
This is not mandatory but useful in smooth surfaces of the cabinet such as laminate or shiny wood.
Prime the Cabinets
- Apply a bonding primer that is used on glossy surfaces or surfaces that have already been finished
- Use a thin and smooth layer with a brush or foam roller
- Allow it to dry fully (refer to the label regarding time of drying)
- Stains are also prevented by priming and bleed-through on old finishes is avoided especially in dark cabinets
Paint or Stain the Cabinets
For Painting:
- Paint the cabinets with good quality paint (cabinet paint –acrylic or enamel based)
- Use 2 to 3 coats, allowing drying time in between
- Sand lightly between applications to achieve smoothness
For Staining:
- Select a gel stain or cabinet-grade wood stain to apply over
- Paint with brush or cloth in thin layers
- Clean the excess, and allow each coat to dry before applying another
Tip: Foam rollers should be used for larger and flat surfaces, and angled brushes should be used to cover corners and trim.
Let Everything Cure
- After the last coating of the cabinets, give the cabinets time to dry
- This may require a period of few days or a week depending on the product
- Do not re-install hardware until cabinets are dry and hardened
Reassemble Cabinets
- Put the hardware, doors, and drawers back in place
- When you are replacing handles or knobs, this now is a good chance to add modern touch without having to spend a lot
- Ensure that all is in place and in an orderly manner
Optional: Add a Topcoat for Durability
To get additional protection, particularly in a busy kitchen, put on a clear polyurethane or top finish designed to be used on cabinets. To retain the original color, select an anti-yellowing and water-based paint when used on painted cabinets.
