Painting a metal facade is one of the most effective ways to improve a building’s appearance, protect it from environmental damage, and extend its lifespan. Whether it’s a commercial structure or a residential property, a well-painted metal exterior can enhance curb appeal and reduce maintenance costs over time. In this guide, you’ll learn how to properly paint a metal facade step by step, using simple methods and professional tips.
Why Painting a Metal Facade Matters
Metal facades are not vulnerable to rust, corrosion, and weather-induced fading, though they are long-lasting. Painting serves as a shield against moisture, UV radiations, and pollutants. It also offers you a chance to update the appearance of the building without changing the material.
When the correct preparation and materials are applied, a well-painted metal surface will last several years.
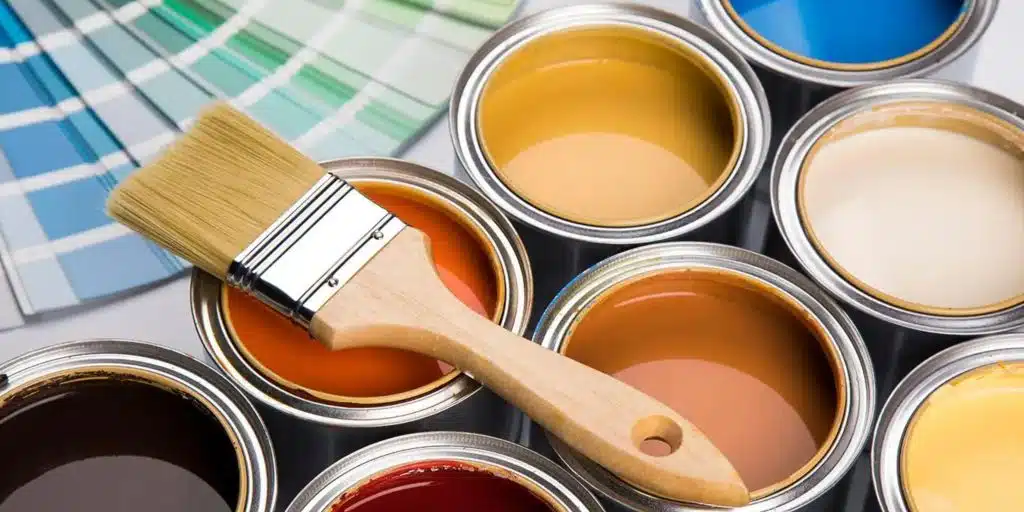
Tools and Materials You’ll Need
Prior to beginning, make sure to collect all tools and supplies:
- Wire brush or sandpaper
- Pressure washer or hose
- Light detergent or cleaning solution
- Primer or rust converter
- High-quality metal primer
- Metal exterior-grade paint
- Paint rollers, brushes, or spray gun
- Masking tape and drop cloths
- Protective equipment (mask, goggles, gloves)
Having everything ready will make the process smoother and more efficient.
Step 1: Inspect the Surface
Start by carefully inspecting the metal facade.
Look for:
- Rust spots
- Removing or scraping paint
- Debris, oil, or grime
- Structural damage
This step will help you understand the level of preparation required. If there are issues, you might require some extra work before painting.
Step 2: Clean the Metal Surface
One of the most critical steps is cleaning. Paint will not adhere properly to a dirty surface.
Use a pressure washer or hose to remove dust and debris. In case there is a lot of hard grime, use a soft detergent solution, and scrub with a brush. Wash well, and leave the surface to dry.
In greasy parts, apply a degreaser to make the surface clean.
Step 3: Remove Rust and Old Paint
Rust may not allow the bonding of the paint; hence, it should be removed.
To remove rust and loose paint, use a wire brush, sandpaper, or power sander. Pay attention to spots where it is problematic; evenly sand the surface to leave it with a texture to allow the primer to adhere better.
When rust is very deep-rooted, use a rust converter to counteract rust first; then prime.
Step 4: Apply a Primer
When painting metal, priming is imperative. It enhances the adhesion of paint and adds protection against corrosion.
Select a metal-surface primer. Use a brush, roller, or spray gun to apply it evenly. Be sure to seal any exposed areas, particularly areas where rust was stripped off.
Let the primer dry as per the manufacturer’s instructions, and then proceed to the next step.
Step 5: Choose the Right Paint
It is important to choose the right paint to have long-term results.
Look for:
- Exterior-grade paint
- Paint designed for metal surfaces
- UV and weather-resistance
Metal facades are usually painted with acrylic latex or oil. They all have advantages but the trick is to make sure that they are compatible with your primer.
Step 6: Apply the Paint
After the primer is completely dry, then you can start painting.
First Coat
Use your preferred method to apply the first coat. Large surfaces are best covered with a spray gun, whereas small surfaces or intricate areas are better covered with rollers and brushes.
Second Coat
Once the first coat has dried, apply a second coat to achieve a more effective and lasting layer of protection. This measure guarantees a smooth finish.
Make sure to follow drying times between coats to avoid uneven results.
Step 7: Pay Attention to Weather Conditions
The weather is a significant factor to the success of your project.
Avoid painting in:
- Humid or rainy weather
- Very hot or cold weather
- Direct sunshine
Optimal conditions are low humidity and low temperatures. This will enable the paint to dry evenly and adhere.
Maintenance Tips for a Painted Metal Facade
Once the painting is done, maintain it regularly to keep the finish:
- Periodically, wash the surface to get rid of dirt and pollutants
- Check for chips or scratches; touch up fast
- Look for rust, and deal with it promptly
When properly maintained, your painted metal facade can last many years.
Common Mistakes to Avoid
Even a simple project can go wrong if certain mistakes are made.
Here are some to watch out for:
- Skipping surface preparation
- Painting over rust without treatment
- Applying an improper paint type
- Ignoring weather conditions
- Using thick coats, rather than thin, smooth coats
These errors—if avoided—will save time, money, and effort in the long run.
Key Takeaways
Painting a metal facade may seem like a challenging task, but with the right approach, it becomes manageable and rewarding. Proper cleaning, rust removal, priming, and the use of lead-based paint are the keys to achieving a durable and attractive finish.
By following these steps, you not only improve the building’s appearance, but also, protect it from environmental damage. Whether you’re tackling a DIY project or overseeing professional work, understanding the process ensures better results and long-term value.
