Finishing drywall properly is the key to achieving a smooth, professional-looking paint job. Even the highest-quality paint won’t hide poorly finished drywall, so taking the time to do this step right makes all the difference. Whether you’re working on a new installation or repairing an existing wall, understanding the drywall finishing process ensures a flawless result.
In this guide, you’ll learn, step by step, how to finish drywall for painting in a way that’s easy to follow and effective.
Why Proper Drywall Finishing Matters
The process of drywall finishing involves more than just covering seams; it is a process of creating a smooth, even surface, which paint can be applied to in a proper manner. Improper finishing may result in visible seams, bumps, and uneven textures which are noticeable after painting.
A well-finished drywall surface:
- Improves paint adhesion
- Produces a professional look
- Prevents cracks and flaws
- Lessens the chances of repainting in the future
Tools and Materials You’ll Need
Before starting, gather the right tools and materials to make the process efficient and clean.
Essential tools:
- Mud (also known as joint compound)
- Drywall tape (paper or mesh)
- Putty knives (6-inch, 10-inch, and 12-inch)
- Sanding sponge or sandpaper (120-220 grit)
- Drywall sanding pole (optional)
- Mud pan
- Primer
Being prepared will help you to work more quickly and attain improved outcomes.
Step 1: Prepare the Surface
Begin by making sure that the drywall is clean and well painted in place. Make sure that the screws or nails are tight.
Clean off dust or debris. Clean drywall will provide enhanced adhesion of joint compound and tape.
When repairing an area, cut out the damaged drywall, and put in a patch before continuing.
Step 2: Apply the First Coat of Joint Compound
Apply a thin coating of joint compound using a 6-inch putty knife over seams, joints, and screw holes.
Make sure to:
- Evenly spread the compound
- Make the layer thin
- Seal all the fasteners and seams
This coating is used as the foundation to lay down tape and joint smoothing.
Step 3: Embed Drywall Tape
Apply drywall tape to seams around the wet joint compound. Next, use your putty knife, and press the tape into the compound.
You can remove any wrinkles or air bubbles along the way. Well-embedded tape eliminates cracking and provides a good joint.
Tip: Paper tape is more durable, whereas mesh tape is simpler to use.
Step 4: Apply Additional Coats of Compound
After the initial layer is dry (typically 24 hours), put on a second layer of joint compound with a wider knife (10-inch or 12-inch).
Finger the edges outwards to smooth the compound into the drywall. This will remove noticeable seams.
Once the second coat has dried, put on a third coat when necessary to have a smooth finish.
Key points to remember:
- The coats must be broader than the other
- Keep layers thin
- Between coats, allow to dry completely
Step 5: Sand the Surface Smooth
After the final coat is completely dry, it’s time to sand.
Use fine-grit sandpaper (120–220 grit) to smooth out:
- Uneven areas
- Tool marks
- Excess compound
Sand lightly so that the drywall paper is not damaged. The idea is to form an absolutely smooth surface, not to take away too much material.
Pro tip: It is easier to see imperfections when using a flashlight at an angle.
Step 6: Inspect and Touch Up
Carefully examine the entire wall.
Look for:
- Minor dents or scratches
- Visible seams
- Rough patches
Lightly sand again; apply a thin layer of touch-up where necessary, allow to dry, and sand again.
This will give your wall a perfect appearance before being painted.
Step 7: Clean the Surface
Sanding dust may disrupt the bonding of paint.
Wipe off the walls with:
- A damp cloth
- A vacuum cleaner with a brush
Ensure that the surface is totally clean and dry and then proceed to priming.
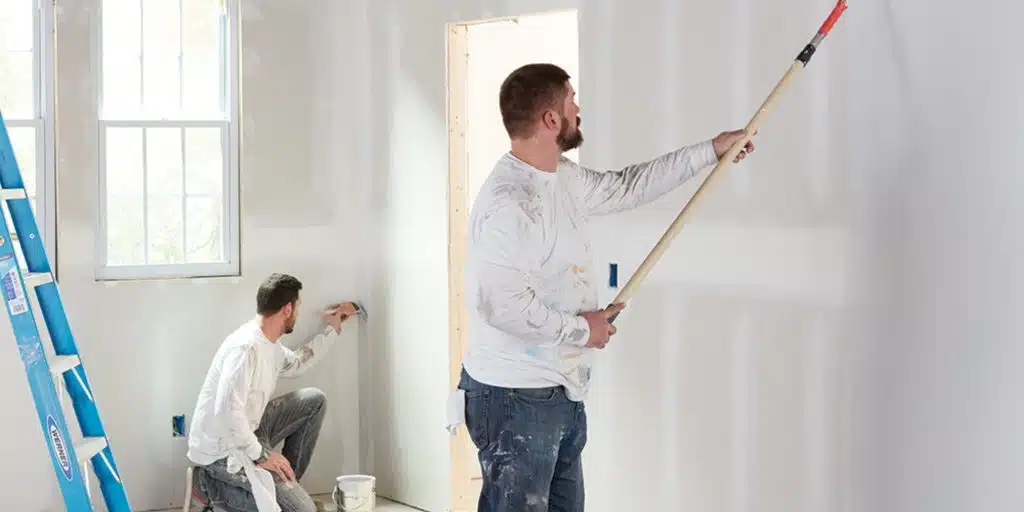
Step 8: Apply Primer Before Painting
Primer is a necessity in painting drywall. It fills in the surface and forms a smooth base on which paint is applied.
In the absence of primer, the paint can:
- Appear uneven
- Absorb into the drywall in different places
- Require more coats
Apply a good quality drywall primer and spread it uniformly on the wall. It is important to dry it thoroughly before painting.
Common Mistakes to Avoid
Even minor errors have an impact on the final outcome.
The following are some of the mistakes to be avoided:
Applying thick layers of compound
Thick coats are more difficult to sand and take more time to dry.
Skipping sanding
Even slight flaws are visible after painting.
Not allowing proper drying time
Hurrying the process may result in cracks and rough surfaces.
Skipping primer
This tends to leave patchy or uneven coverage of paint.
Tips for a Professional Finish
To achieve the best results, keep these expert tips in mind:
- Work in good lighting to spot imperfections early
- Use clean tools to avoid lumps in the compound
- Mix the joint compound for a smoother consistency
- Take your time—quality drywall finishing cannot be rushed
Patience and attention to detail are the biggest factors in achieving a flawless finish.
Key Takeaways
Finishing drywall for painting may seem like a time-consuming process, but it’s essential for a high quality result. By following the right steps—applying thin coats of joint compound, sanding carefully, and using primer—you can create a smooth, professional surface ready for paint.
With practice and the right techniques, even beginners can achieve excellent results. Take your time, follow the process, and your finished walls will look clean, polished, and ready to impress.
