Cabinets in the kitchen, bathrooms, and other parts of the house may begin to appear old, battered, or outdated. Although replacing cabinets may be expensive, resurfacing them is a cheaper option that can give your cabinets a new, fresh appearance without the expensive price tag. Resurfacing cabinets is a very easy task whether you want to change the color, add a new finish, or even repair damaged surfaces; with the right tools and techniques, you can do it. Here we will take you through the steps of resurfacing cabinets, and provide some tips and tricks to make your result look professional.
What is Cabinet Resurfacing?
Cabinet resurfacing involves refurbishing and refinishing the surface of your already existing cabinets without replacing them. It usually entails sanding, repairing, priming, and painting or staining the cabinets to make them look new and refreshed. This can include the cabinet doors and the frames and is a great way of giving old or damaged cabinets a new life without spending a lot of money to have them replaced.
Resurfacing gives homeowners the opportunity to select new colors, finishes, and even hardware, changing the appearance of their cabinets. It is also applicable in repairing minor scratches, dents, or any other damage that may have been incurred with time.
How to Prepare for Resurfacing Cabinets
You should ensure your cabinets and workspace are prepared before getting into the resurfacing process. This is what you will have to do.
Gather Your Supplies
Prepare all the tools and materials needed for the job:
Sandpaper (medium and fine grit)
- A putty knife (to clean off old paint or scrapings)
- Sandpaper (medium and fine grit)
- Wood filler or caulk (to fill holes or cracks)
- Primer (to ensure good adhesion of paint)
- Paint or stain (select your favorite finish)
- Rollers and brushes (to apply the paint or stain)
- Painter’s tape (to cover adjacent area)
- Drop cloths (to cover floor and counters)
- Screwdriver (to remove hardware)
Clean the Area and Hardware
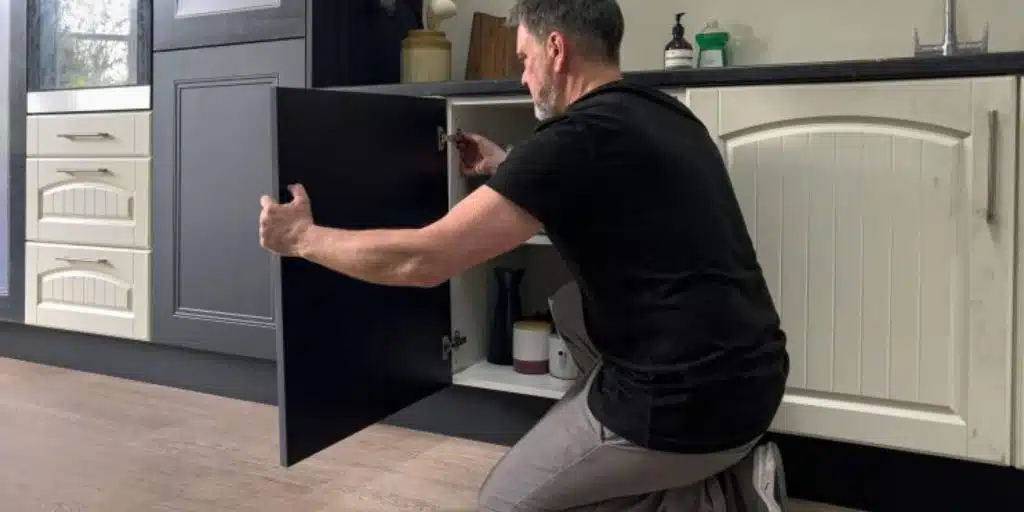
Begin by emptying the cabinets and clearing the area around it. Take off cabinet doors, drawers, handles, and knobs using a screwdriver. This will facilitate easier access to the surfaces requiring resurfacing and assist in avoiding hardware damage or damage to the surrounding area.
Then, drop cloths should be placed on the floor to prevent any dust or paint splatter. Tape the nearby surfaces (such as countertops and walls) with painter’s tape.
Step-by-Step Guide to Resurfacing Cabinets
The following are the steps to resurfacing your cabinets to appear new.
Wipe and polish the cabinet surfaces
First, clean the surfaces. Wipe the cabinet frames and doors with a damp cloth or a mild cleaner to get rid of any grease, grime, and dust. Make sure that the surfaces are dry before proceeding to sanding.
Sanding is necessary to make sure that the new paint or stain adheres. Begin with medium-grit sandpaper (approximately 120-grit) to rough up the surface, particularly when there is an old finish or paint on it. After preparing the surface, change to fine-grit sandpaper (approximately 220-grit) to polish the surface and eliminate any sanding marks.
Always remember to sand with the grain of the wood when dealing with wood cabinets so that you do not see scratches.
Repair Any Damage
After the sanding is done, check the cabinet surfaces to see whether they are damaged (scratches, chips, or cracks). Fill in these imperfections with wood filler or caulk. Use a putty knife to apply the filler, and smooth it out to blend with the surface. Let it dry, and sand it smooth.
When dealing with metal cabinets or laminate cabinets, apply a good adhesive or repair paste to fix any cracks or holes before proceeding.
Apply the Primer
To make the paint or stain adhere to the surface, apply a primer. Primer provides a smooth surface and prolongs the life of the paint. Select a primer that is compatible with your cabinets’ material (wood, laminate, metal, etc.).
Apply a layer of primer to all the areas you intend to paint using a brush or roller. Dry the primer thoroughly as per the instructions of the manufacturer, and then move on to the next step.
Choose the Right Paint or Stain
Once you have primed, now you need to select the paint or stain that will provide your cabinets with the finish you want.
Paint: To achieve a bold or glossy appearance, use good quality paint. Select a semi-gloss or satin finish that is durable because it is more resistant to wear and tear in areas with heavy traffic, such as kitchens. Cabinets can be painted with acrylic latex paints.
Stain: To make it look more like wood, use a wood stain that will add to the grain. Stain is an excellent option when you would like to retain the natural beauty of the wood but add depth and color.
To achieve optimal results, use the paint or stain in thin layers. Smaller areas should be painted with a brush and larger areas with a roller. Apply one coat, and then leave it to dry before applying the second coat. You may require 2 to 3 coats, depending on the type and color of finish you want.
Apply the Finish
When the last coat of paint or stain is dry, place a clear finish on the surface to protect it. Polyurethane finish is effective on painted and stained cabinets to provide a protective coating that is durable and resistant to scratches and stains. Select a matte, satin, or gloss finish based on your preference.
Use a clean brush to apply the finish in thin and smooth layers. Do not apply more than one coat at a time. Always allow to dry according to manufacturer’s instructions.
