If you want to give your home a makeover with paint to brighten your rooms, or if you need to update a home that you have already painted but it seems dull, then consider painting the door trim. Here is a step-by-step guide that you may follow while painting your door trim; the end product is worth displaying.
Preparation
When painting, you should prepare all materials and tools to be used to avoid interruption once the painting is in progress.
Essential Materials
1. Paint: Select any brand which is an ideal type for trim work, specifically, semi-gloss or gloss paint since it is easy to clean and long-lasting.
2. Primer: Apply primer on bare wood or when you want to change the color drastically.
3. Painter’s Tape: Cover other areas of the wall where the main color will not be applied, in order to have a clean look and proper demarcation.
4. Tarpaulin or Plastic Sheets: Use this to cover furniture and floors in order to avoid any spills of paint.
Necessary Tools
1. Painter’s Tape: For clean edges
2. Sandpaper (120-220 grit): For smoothing surfaces
3. Putty Knife: Used in application of fillers for the intention of closing up nail holes and other spasmodic surface unevenness
4. Brushes: A small one for detail work and a large brush for the larger areas
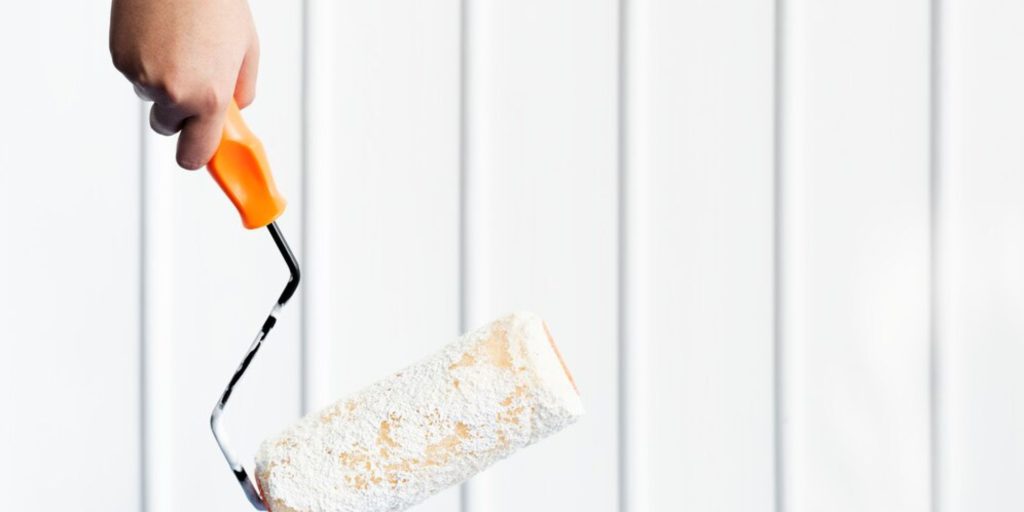
5. Paint Roller with a Narrow Extension Pole: This is for efficiency and ease when working
6. Screwdriver: For removing hinges or locks from the doors
7. Ladder or Step Stool: Used to reach higher areas conveniently and safely
8. Vacuum Cleaner and Dust Cloth: Used to clean the surface to be painted
Step-by-Step Guide to Painting Door Trim
Step 1: Preparation
Remove Hardware
Start by ensuring the doors have been painted, so all that remains are the frames, including the hinges, locks, doorknobs and any other fixtures that were originally there. Loosen these items by unscrewing them gently and then place them in a safe and secure place. This step becomes essential to help prevent paint from falling on this hardware.
Clean the Trim
Sometimes the door trim may be dirty since it is exposed to dust, grease, etc. Trim should be washed by using a clean cloth with soap or detergent solution. This will allow the paint to adhere better on the surface. Let the trim dry for some time before continuing the process.
Protect Surrounding Areas
Put painting contractors tape on areas that may be affected, including the walls, ceilings, and the door interior. Remember to lay plastic sheets on the floor to cover it and protect it in case of spillage or splashing.
Step 2: Sanding and Repairing
Sand the Surface
Lightly sand the door trim with 120 to 220 grit sandpaper. This is helpful to increase the degree of polish to the item by removing all the unevenness and rough edges. If the trim is already painted, sanding also allows the new paint to adhere well to the trim’s surface.
Fill Imperfections
If it is necessary, cover all the nail holes, crack lines, and other defects, such as dents, with putty, and let them dry before proceeding with the other steps. Let the filler harden and then use sand paper on the filler to smooth it.
Step 3: Priming
Apply Primer
If the trim is bare wood or if you are going from dark to a much lighter color, it is recommended to apply a coat of primer. Always use a high-quality brush or roller which should specifically be used for the task of priming. Then, allow the primer to dry following the directions of the manufacturer..
Step 4: Painting
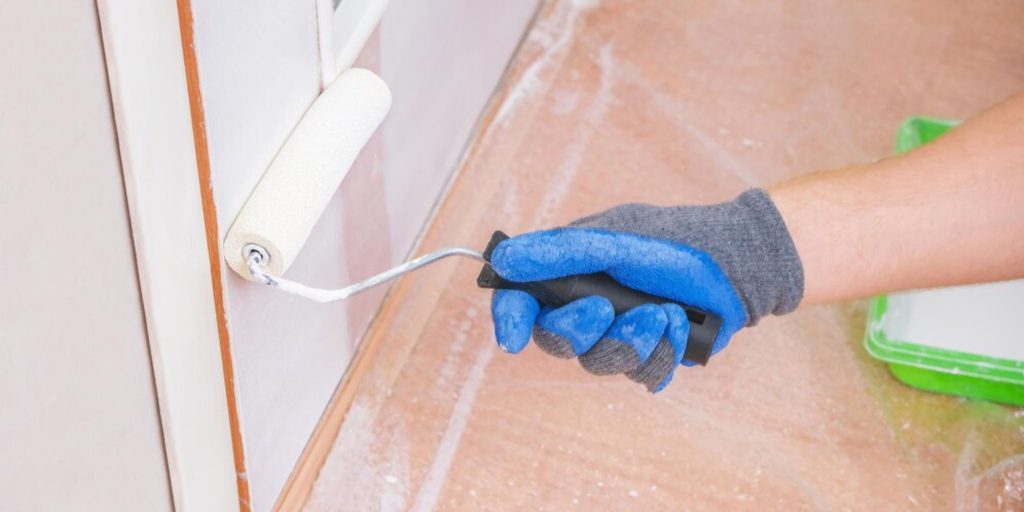
First Coat
Begin by painting with a first coat of high-quality paint with a brush or roller. Start with the upper edges of the trim and continue to the lower portions. For best results, you should use a small brush for the edges and corners and a broad brush or roller combined with an extended handle for the rest. This helps to achieve an even spread.
Allow to Dry
The first coat must dry completely. It may take several hours but check the time indicated on the paint can for further instructions.
Second Coat
Paint the surface for the second time with the same color for better coverage. For precision, use a brush and for an efficient and fast method, use a roller. Ensure smooth application so you do not get lines or streaks showing on the wall.
Step 5: Finishing Touches
Remove Painter’s Tape
When the second coat has dried, it is now time to take off all the painter’s tape. This should be done gradually to prevent the peeling off of fresh paint from the surface.
Reattach Hardware
Again, ensure that the paint is thoroughly dried before putting the hardware back. Be gentle so that the new paint does not get scratched.
Final Inspection
Check whether there are any missed portions or flaws on the trim. Maintain the standards of aesthetics to give a neat appearance.
